Miracle Balm
 Just Enough Tinted Moisturizer
 What The Foundation
Diary / Beauty / Jan 22, 2024
How to Use Miracle Balm
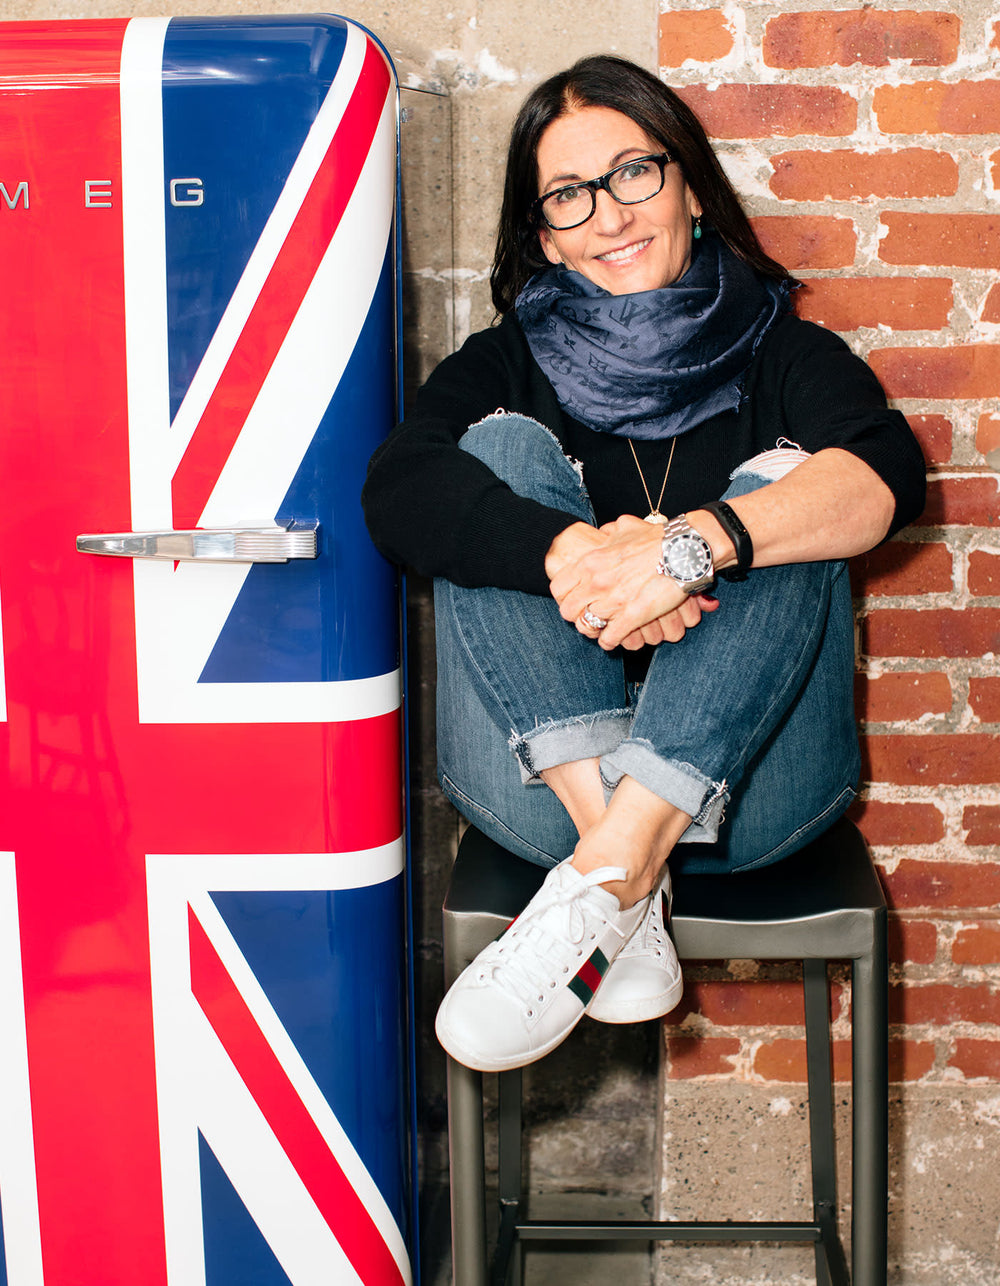
Written by: Piper Gray
Photography by: Ben Ritter & Jon Patterson

We don’t think we’re overstating the miraculous potential of our beloved balm. This is our hero product, the basis of our “your skin but better” approach, and it fits into anyone’s routine, whether no-makeup makeup is what they’re after or something a bit more.
It’s a super-hydrating pick-me-up, good for adding color or glow, depending on which of the 12 shades you opt for and your own skin tone. It’s perfect for a lit-from-within vitality or a warmed-up complexion—even both. It’s so multifunctional that you can use it on your lips and neck too.
Miracle Balm’s formulation is special, unlike anything else out there, and when it comes to its emollient texture, less is more. (Less than less, even. Start with very little.) While it requires no particular expertise to apply and enjoy, anyone who decides to incorporate this masterful product into their makeup look could benefit from a little guidance before (literally) digging in.
Let’s go over the ins and outs of all things Miracle Balm. We’ll share some tips on how to choose the best color, how to apply it, and what to do if you use too much.
How to Choose a Color
Consider what you want to use Miracle Balm for. Do you want to add pigment, highlight, an all-over glow?
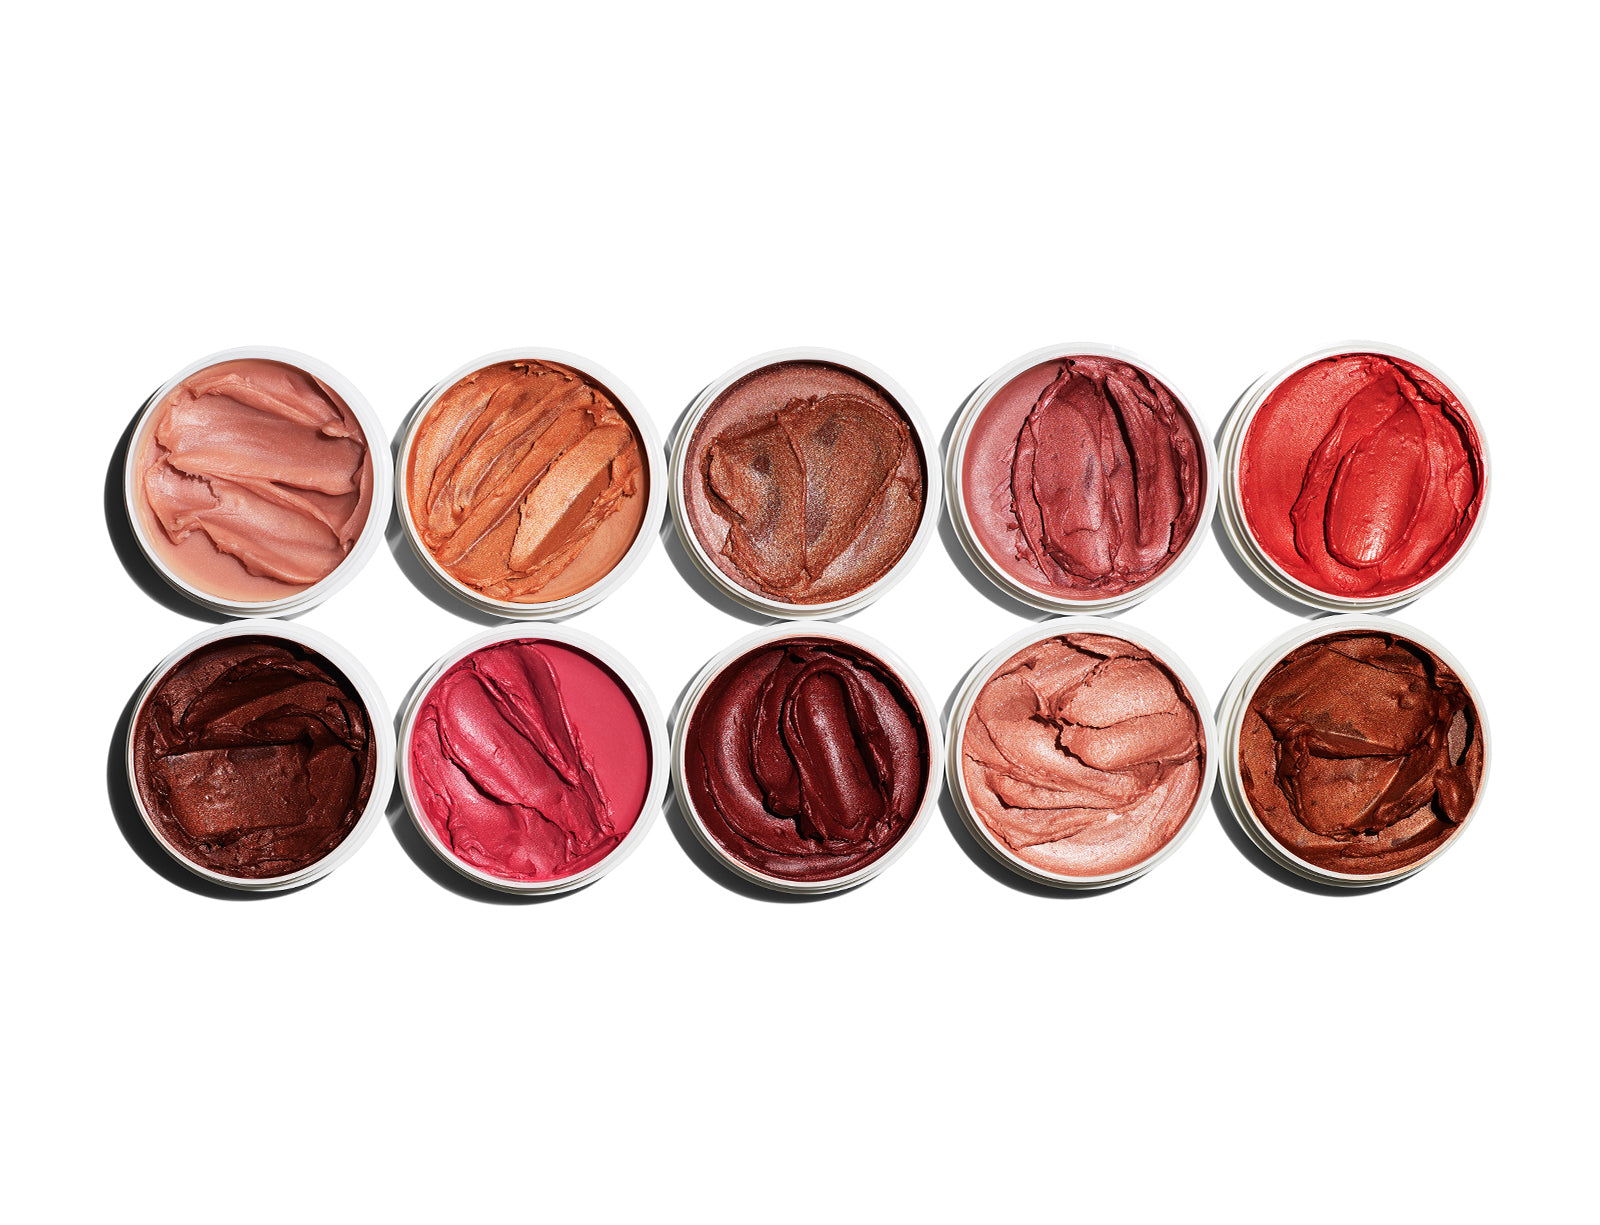
Here are the shade breakdowns to get you started.
- Pinched Cheeks: a medium rosy pink with subtle multidimensional shimmer for fair to dark skin tones
- Cocoa Bronze: a deep plummy bronze for medium to deep skin tones
- Au Naturel: a clear balm with subtle opal pearl for all skin tones
- Happy Hour: a cool, sheer pink with silver shimmer for light to medium tan skin tones
- Dusty Rose: a cool, rosy pink sheer tint for fair to medium skin tones
- Flushed: a cool pink with a subtle sheen and sheer to buildable coverage for all skin tones
- Miami Beach: a warm peachy coral with subtle gold shimmer and sheer to buildable coverage for all skin tones
- Golden Hour: a warm, sheer gold with multidimensional shimmer for all skin tones
- Magic Hour: a cool, sheer bronze with silver shimmer for light to medium-dark skin
- Bronze: a warm brown sheer to buildable tint for all skin tones
- Tawny: a reddish/brown sheer to buildable tint for medium to dark skin tones
- Sunkissed: a deep reddish bronze tint that is sheer to buildable for light to dark skin tones
Even more simply, for those who don’t want shimmer or color, especially if you want to skip foundation: Au Naturel
In lieu of blush: Miami Beach, Flushed, or Pinched Cheeks
For highlighting: Happy Hour (the coolest option, pinky and silvery), Magic Hour (this is a still-cool option that’s sheer enough for all skin tones, a little bronzey), or Golden Hour (a more gold take)
For all-over tint: Sunkissed, Dusty Rose, or Cocoa Bronze
If your skin has redness, Bronze is perfect. (Skip if you have yellow undertones; you may find this makes you look orange.) Conversely, Tawny can neutralize yellow undertones and is best avoided for pink or red undertones.
Still at a loss? We’ve created a custom quiz to point you in the right direction.
If you’re able to visit us in store and test it out in person, it’s best to actually try it on your face—not swatch it out on your hand or arm like you would ordinarily when testing out a makeup color. When you diffuse the intensity on a larger area, like your cheekbones, you’ll get the most accurate picture of its color and highlight.
Otherwise, your chosen Miracle Balm may look more dramatic and impactful if you’re applying it to a concentrated area, like your hand or arm, and you’ll be tempted to apply more product to match what you originally intended.


How to Apply It
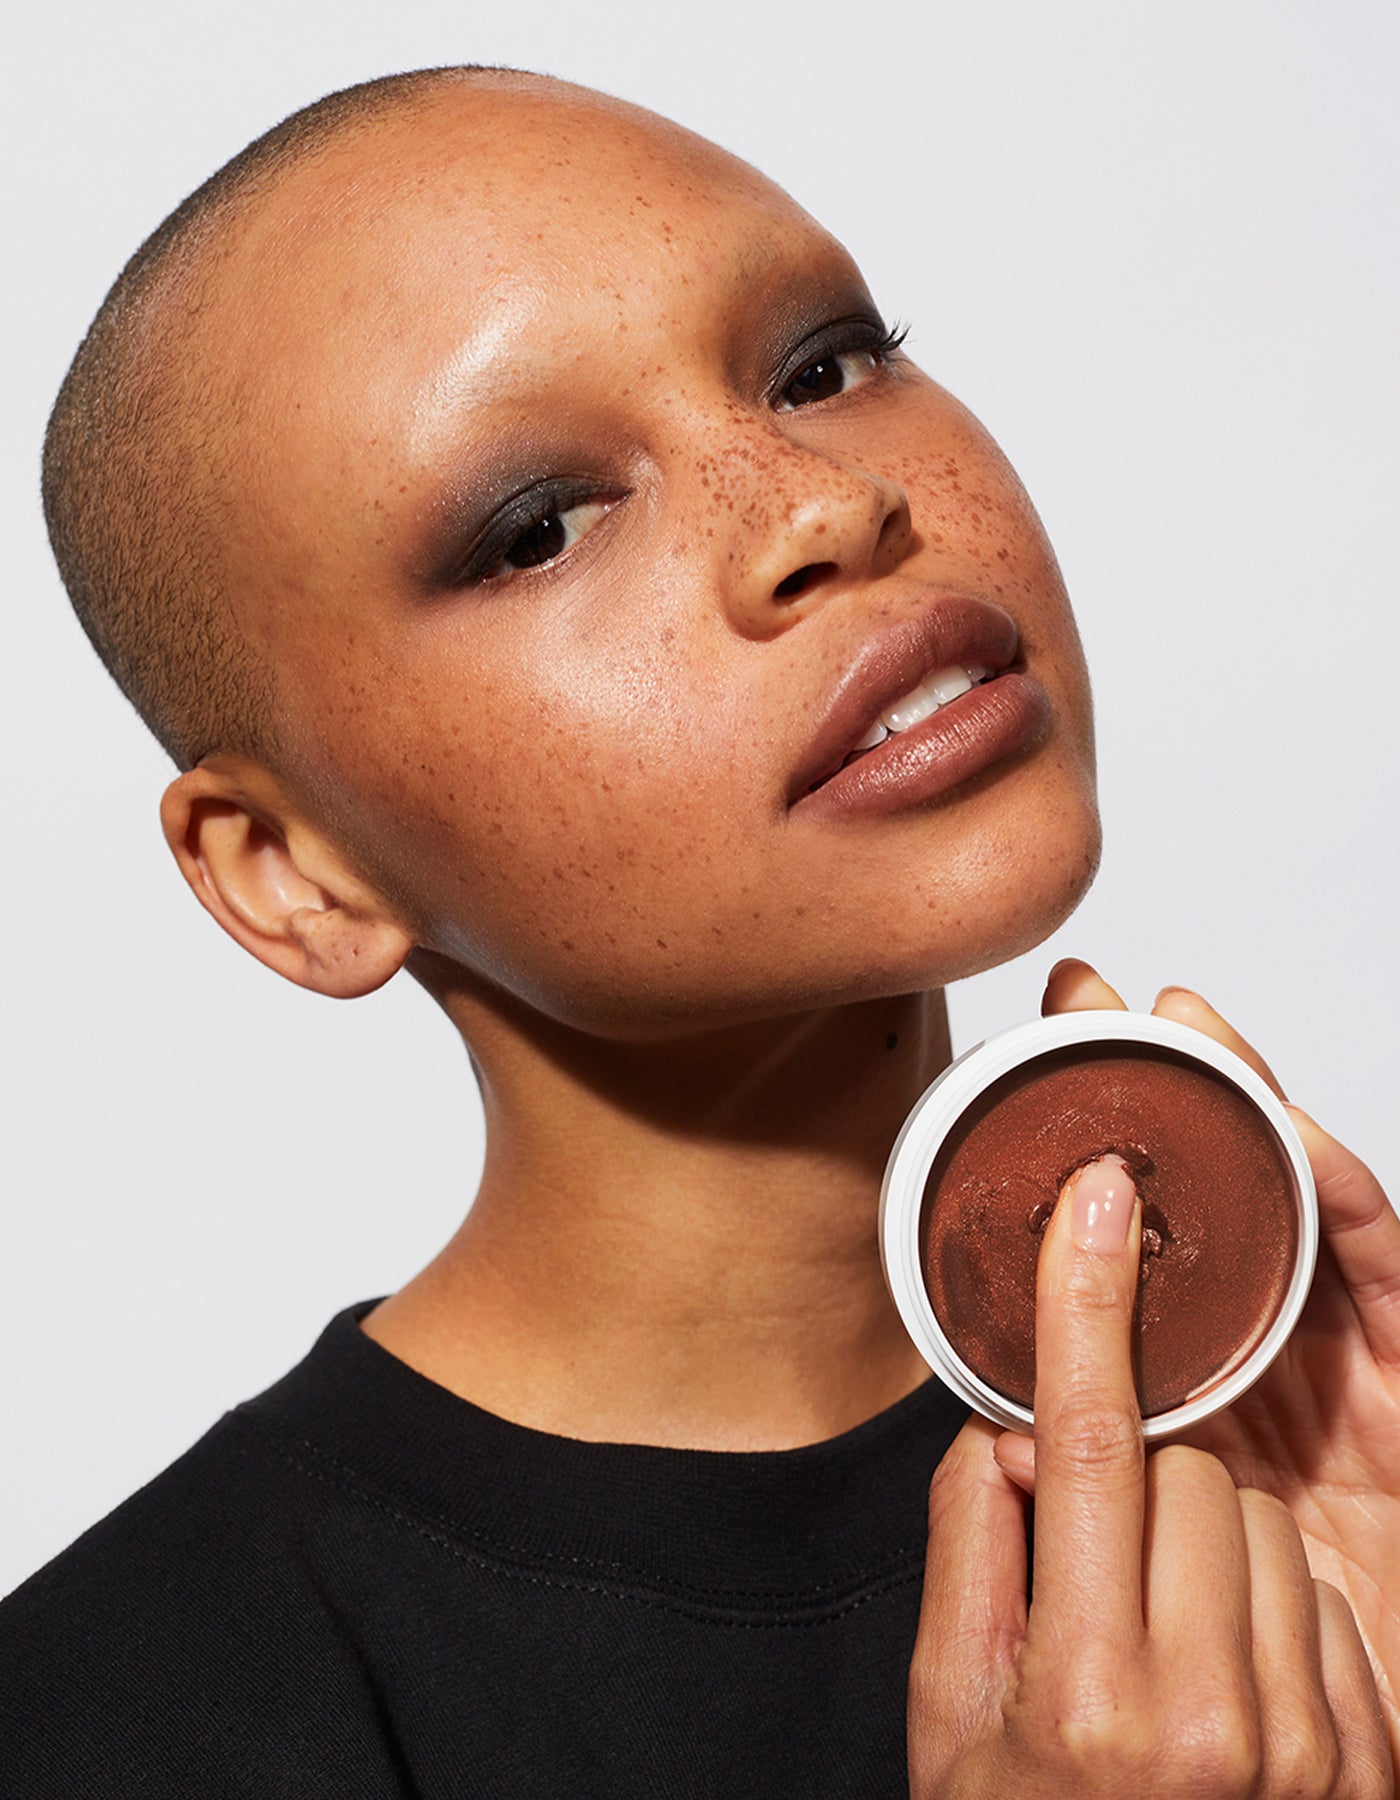
When you first open a fresh package, break the seal to activate the color. Use your fingertips and gently dip into the balm, gently digging down to excavate a small amount. (You can see Bobbi demo it here, too.)
From there, transfer it to both sets of fingers and lightly rub together to warm, and lightly start dabbing on. Begin at your cheeks, even if you plan on applying all over. Don’t smear or drag. If you like, a brush, like The Everything Brush, can also help seamlessly blend in as well. (See a how-to here.) Your fingers will be perfect for applying to your lips, no brush necessary.
Quick note: For subsequent applications, either right after to build up to your desired intensity or the next day (or even after), you don’t need to break the seal again, in an untouched part of the balm. You can keep dipping into the portion you’ve already used, and once you need to get more product, move along and break into another part of the intact balm.
How Much Miracle Balm Should I Use?
You don’t need much Miracle Balm to enjoy its impact, no more than a pea-sized amount for your whole face.
When you’re first getting the hang of it, go for an even smaller amount; you can always add more but it’s more of a process to remove the excess. Consider the least amount you could use.
Given the consistency and texture of the balm finish, it can build quickly and feel sticky if overdone. That’s why we recommend going slow and starting light. (It’s a powerhouse product but it is meant to lend minimal coverage. The finish will likely feel heavy and greasy if you pile too much on.)
Formulated with jojoba seed oil, Miracle Balm is ultra-moisturizing, but if you have dry skin don’t substitute it for a moisturizer. Use sparingly if you have oily skin.
Can I Use Miracle Balm on Its Own?
Yes! Absolutely. It’s not color-correcting per se but it will make you fresh-faced in an instant.
One tip though: Avoid the t-zone. Adding any product there—complexion correctors aside—can bring an unwanted glow; you rarely want to highlight the t-zone as it may make you look oily rather than lit-from-within.
If you do want to pair with correction products, here’s a breakdown. For light to medium coverage, apply your Face Pencil(s) first and then Miracle Balm. For medium to full coverage, apply What The Foundation, your Face Pencil(s), and lastly, Miracle Balm.
If you’re after more cheek color, apply Lip and Cheek Stick or The Best Blush first before Miracle Balm. (This will ensure you’re adding color without making things greasy.) But for all-over color, go with What The Foundation or your preferred bronzer (gel or powder) before Miracle Balm.
What to Do If You Use Too Much Miracle Balm
Balms, by nature, can add unwanted weight or texture if too much is applied. So, if your skin is feeling greasy or almost sticky after you’ve put on Miracle Balm, then you’ve likely added too much. Next time, apply even less.
If you are using a minimal amount but still find it to be a bit much or tacky to the touch, consider skipping your moisturizer and perhaps even your complexion-correcting products.
But say you want to course-correct now, consider mattifying it to take down some of the texture and glow. Simply top with a light dusting of Tinted Face Powder in Untinted.
Lastly, Experimentation Encouraged
Miracle Balm is truly a magical product but it may take a little bit of trial and error to figure out what exactly works for you and your skin.
If you’re noticing an undesirable texture after the first few uses, don’t get discouraged. Simple adjustments to the amount of moisturizer and foundation you’re using may be all it takes to make Miracle Balm work for you.
So keep at it until you learn your ideal application amount and methods. We know you’ll be glad you did.