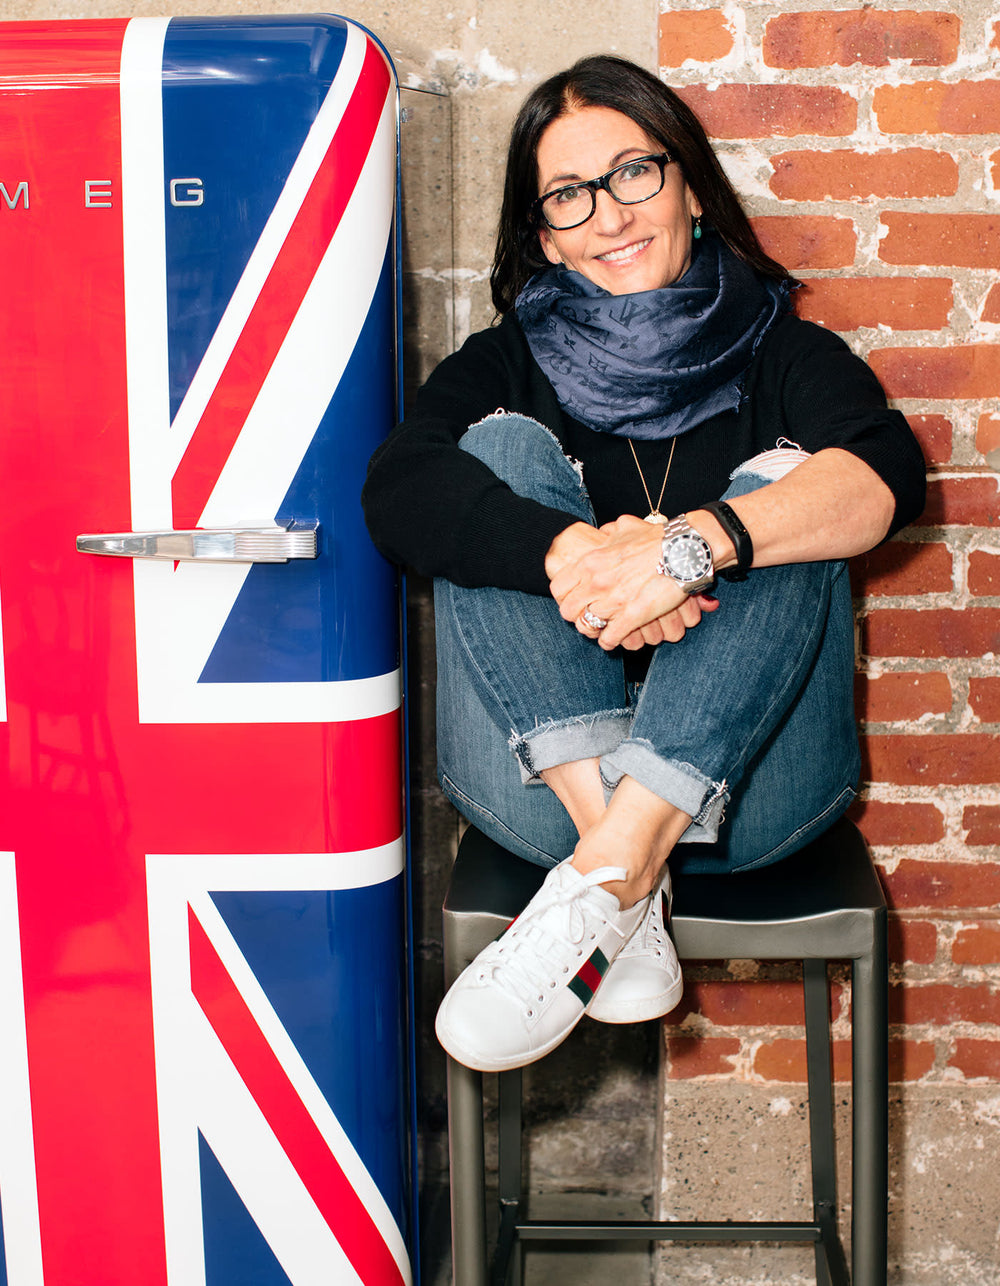
Smokey eyes don’t have to be hard. Many people think you have to be an expert blender and I think that's too hard for most people. A smokey eye doesn’t have to be all over the lid, it can be closer to lash line for smaller eyes. Your eye shape and style really dictates how its applied.
The first step is choosing your shadow colors, warm or cool. You should be using three to four shades. The first color is your base color and it will be the lightest shade. Next, select a light to medium shade that matches the tones you chose. This shade will be one to two shades darker than your lid. The third color is a medium to dark shade that is going to be richer and more pigmented than the last. And the fourth color, if you want to add it in, should be a black or brown and very pigmented color. It’s important that you don’t mix formulas. Its very hard to blend once they gets stuck to each other. Nudestix has great blendable sticks.
The first and lightest shade should be applied from lash to brow. Next, take the medium eyeshadow brush and apply the light to medium tone from lash to crease. At this point the lightest color will be visible on your brow bone. The inner corner of your eye should be lighter than the outer corner and the crease will also be darker to help open up the eyes.
Use a pencil or gel liner to line along your top and bottom lashline. Use a smudge brush or your finger to diffuse the look along the bottom. Finish the look with a black volumizing mascara. A nude lip and dusty pink blush will work well to keep the focus on your eye.
Do keep a Q-tip and clean brush handy for mess ups. Trying to clean with your finger can make the mess worse. Or be clever and do your eyes first, and take off messy bits with a non-oil makeup remover. I love Garnier Micellar Cleansing Water, and use both at work and home.


 Miracle Balm
 Just Enough Tinted Moisturizer
 What The Foundation


