Diary / Justbobbi / Sep 26, 2022
Yoga for Hangovers: Grab a Mat Instead of Medicine
Written by: Danielle Diamond

We’ve all felt the effects of too much alcohol - and it never ends well. Because even if you didn’t wake up in jail, you probably wound up with a hangover. If you ever find yourself needing to ditch the pounding headache, queasy stomach, and overall feeling of wanting to stick a fork in your eye, know that spending just a few minutes in three yoga poses will do wonders.
Why yoga over popping a pill? Most headache reducers contain acetaminophen or ibuprofen, which can damage the liver or kidneys, more than the alcohol did, because they actually reduce the blood flow to these organs — the exact opposite of what you want to be doing. Hopping on your increases the blood flowing to them.
Yoga also helps because it stimulates the organs, improves circulation and helps move along the digestion process. Plus, it helps relieve stress, which we all might be feeling right now.
While all that organ stimulation and circulation-boosting are great, realize this is not the time to take on an advanced yoga class or hot yoga. Alcohol slows your motor skills, so your judgment may be impaired and your reaction time might be decreased. Balancing in crow pose is hard enough without a hangover upping the ante of a face plant occurrence.
One last thing before we get to the actual yoga: I’d be a horrible health coach if I didn’t point out that many of the symptoms of a hangover stem from the dehydration that comes from drinking too much, so you must hydrate, hydrate, hydrate before doing any movement, or anything at all, for that matter.
Ok, now that you’re fully hydrated, why these three poses?
Twisting poses are beneficial for squeezing the organs like a sponge to ditch old blood and improve digestion, inversions can increase circulation and alleviate headaches, and forward folds can calm the nervous system and reduce alcohol-induced anxiety. In class, you may only hold a pose for five breathes, but because we’re using the poses in a more restorative way, you want to hold each pose for 10-15 breaths to really feel the benefits.

Seated Spinal Twist Pose
-
Sit with your legs extended in front of you and bend your right knee.
-
Place your right foot outside your left thigh.
-
Place your right fingertips on the floor behind your right hip, gently twisting your body to the right.
-
Raise your left arm up and hook your left elbow outside your bent right knee.
-
Take a deep breath and lengthen the torso, then exhale as you twist further to the right. With each exhale, twist your body further.
-
Take 10-15 deep breathes and repeat on the other side.

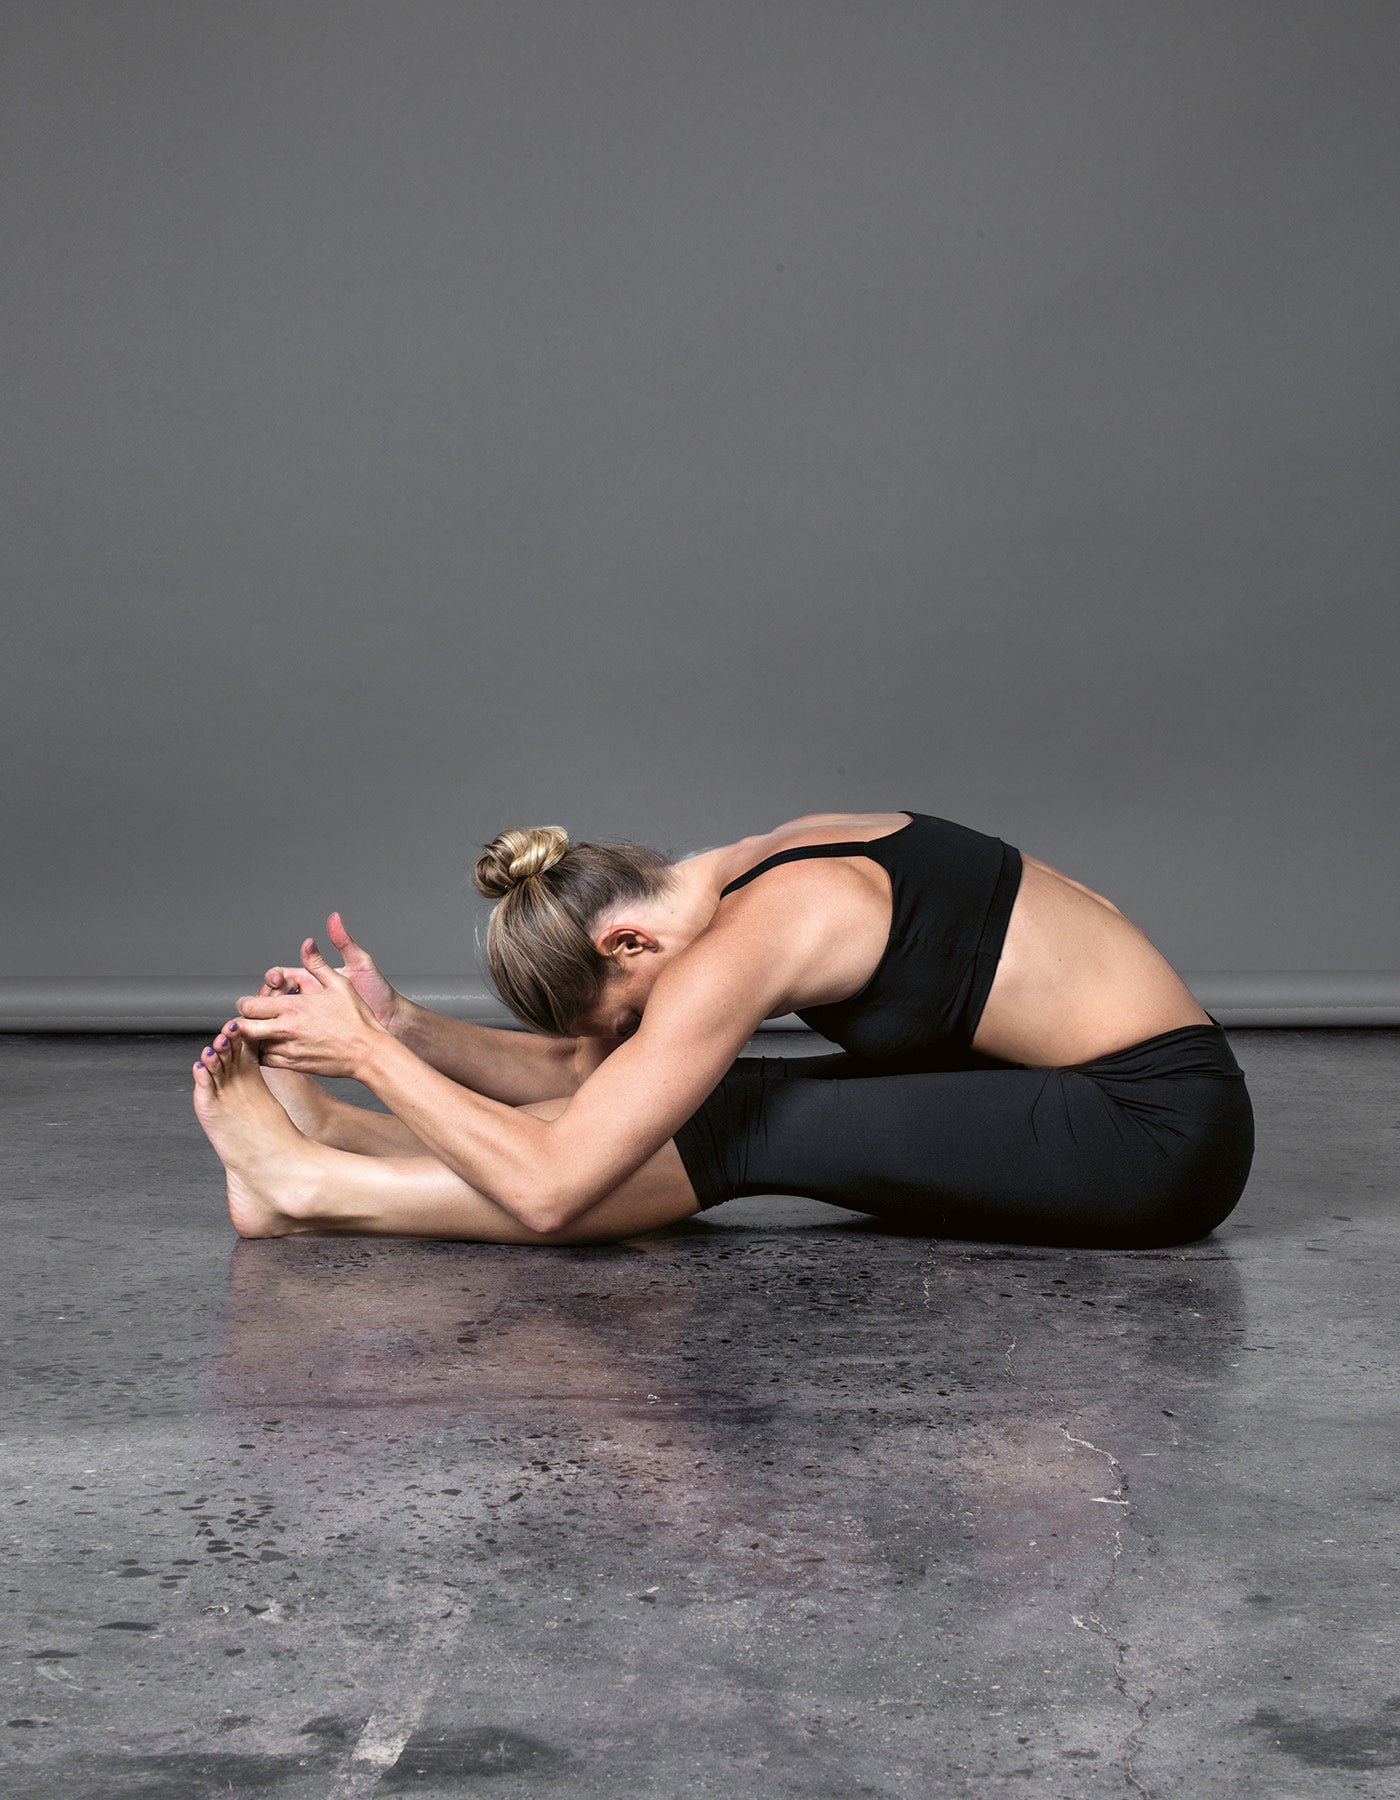
Head to Knee Pose
-
Begin seated with legs extended out in front of you.
-
Bend your right knee and bring the sole of your right foot to meet your inner left thigh.
-
Turn your torso to face the left foot.
-
Inhale and extend both arms up and lengthen both sides of your body.
-
Keeping the spine long, exhale and hinge at your hips to fold forward over your extended leg.
-
Place your hands on the mat, hold onto the calf or even grab the left foot.
-
Avoid rounding the spine while you reach the chest toward the toes of your left foot.
-
Take 10-15 deep breathes and repeat on the other side.

Legs Up the Wall
If you put your hips on a folded blanket or a bolster, with your hips higher than your heart, you get the inversion benefits.
-
With a mat next to a wall, place your left hip and shoulder as close to the wall as you can.
-
Turn yourself so that your legs and feet go up the wall as you lie your back down on the mat. Keep your butt as close to the wall as possible and your legs as straight as you can get them without locking the knees.
-
Relax your shoulders and place your hands by your hips, palms up or down.
-
Begin to take long, deep, even breaths that come all the way into your upper chest, and then exhale everything out until your navel contracts.
-
Stay here, breathing deeply for at least 15 breaths, but ideally for five minutes.


 Miracle Balm
 Just Enough Tinted Moisturizer
 What The Foundation


