Diary / Beauty / Mar 6, 2024
Zoom Makeup: 8 Beauty Tips for Video Conferences
Written by: Jones Road Beauty
Photography by: Ben Ritter

Perhaps you’re not doing as many video calls as you were doing during those confusing days of 2020, so you’re no longer frantically trying to pull yourself together in a nice top and pajama bottoms. But that familiar feeling of not being prepared for your next Zoom or Teams check-in remains—is it actually possible to look pulled together on a video call?
Of course it is. Sure, you may not always have control over the overhead lighting situation, but the key is to look like yourself, paying special attention to a couple of areas in particular, so you don’t get any more distracted by your own image.
Video calls have come a long way in recent years but the camera can still dim your look. On one hand, that’s frustrating—but on the other, that’s good news. Not every element of your makeup will stand out on screen (for example, a complex eye look, while gorgeous, will not render accurately) so you can save time and focus on the components that will make the most impact. You don’t have to worry about doing the most flawless, precise look of your life because the camera—even if you haven’t enacted a filter–does tend to soften things in a welcome way.
So what to do? Let’s go over some tested tips to keep you looking healthy, awake, and expressive—no matter your environment or profession.
Find the (natural) light
Before you even start prepping your face to start the workday, consider where you will be taking the call. You may be holed up in a windowless conference room—it happens—but if you can, orient yourself in front of a source of natural light. Your skin is less likely to look warped by harsh, overhead lighting, which can exaggerate the appearance of under-eye circles or uneven skin tone.
Don’t skip the skincare
A moisturized palette (aka your face) is always important but when you’re going to be on camera, you need to take every step to make sure you don’t look washed out—an unfortunate byproduct of the camera, no matter how top-of-the-line your tech setup is or how flawless your appearance is off screen.
With a nourished base, your foundation won’t look flat, and instead will be naturally warm and glowy.
Before we move on, don’t forget Eye Cream. Moisturizing your under-eye area is essential for looking alert, particularly if you’re prone to circles or bags. (The camera has a way of dramatizing their presence.)
Cover up, but not too much
A full coverage look, even if that’s your daily approach, may unintentionally flatten you on camera, muting your features and dulling your complexion. With that in mind, mainly tend to any under-eye circles, blemishes, and unevenness.
The camera tends to pick up on dark circles and heighten their appearance, making you look tired. If that’s an issue, we recommend lightly applying The Neutralizer Pencil and topping with The Face Pencil to add back in your natural skin color. Not sure of your colors? Take this quiz to find the hues for you.
A note though: While you don’t need a full face of concealer and foundation, if you’re a tried-and-true minimalist, you may need a bit more coverage that you’re used to in order to look the most natural. Too much product will artificially flatten your features, but too little won’t make a difference on screen.
A healthy-looking glow is what you want the main focus to be, but this is also a good time to add powder. (Glowy, not greasy, is what we’re after.) Set your look with Tinted Face Powder to take down any shine and keep your product in place. This is perfect if you’re in back-to-back meetings and don’t have a moment to remedy how drained you may look at the end of the day.

Warm things up
Your innate warmth and color can easily get lost on video screens, even if you’ve found the best setup with natural light and you’ve sufficiently moisturized.
You don’t need to master the art of contouring to look alive again; it can be as simple as applying blush to the cheeks or smoothing on an all-over bronzing product.
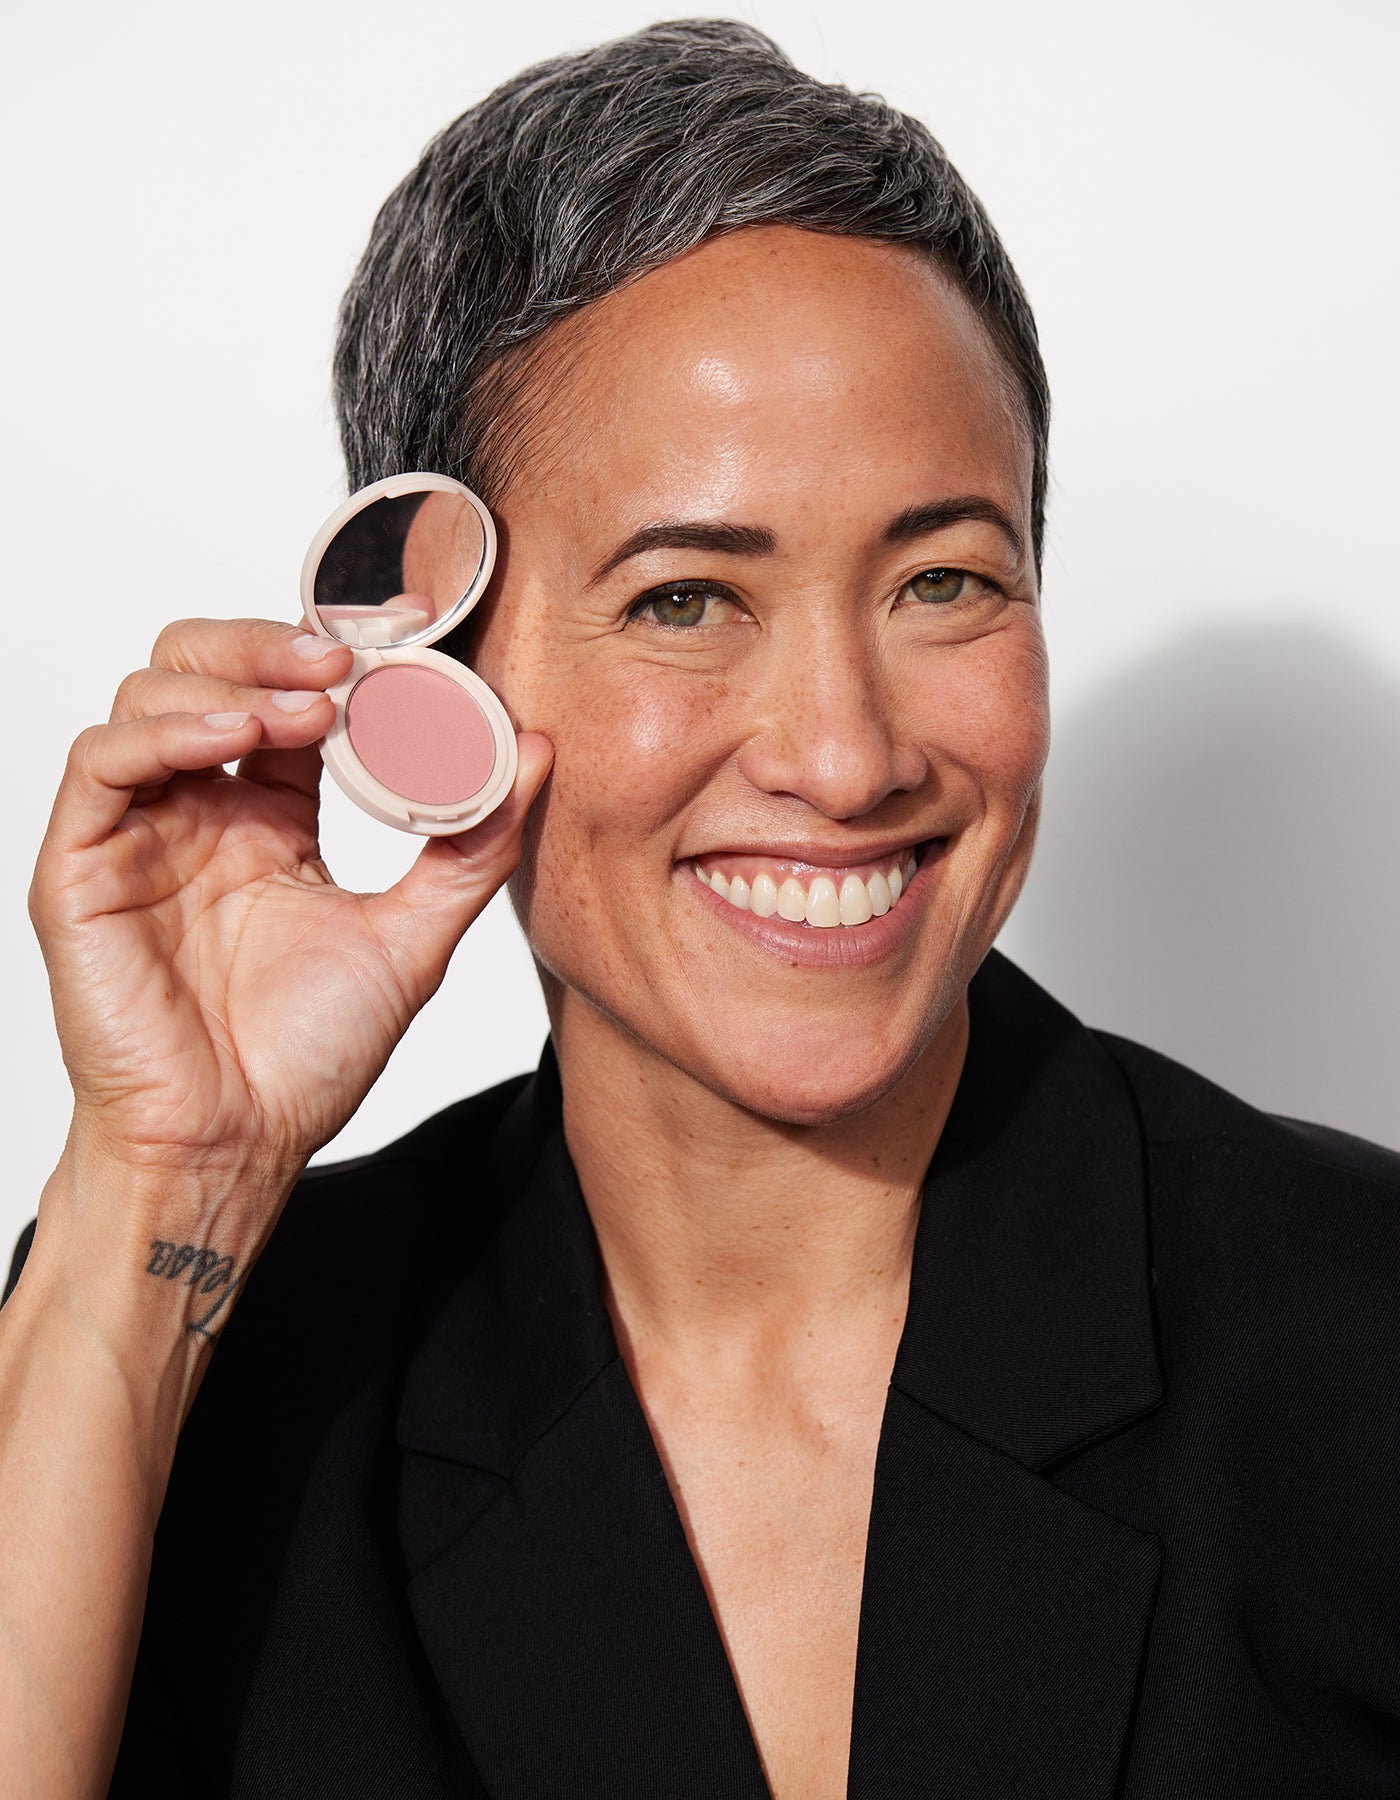
If you prefer a powder application, brush The Best Blush onto the apples of your cheeks. Minimalists without a mirror may prefer to swipe on our Lip and Cheek Stick and blend with their fingertips. (Feeling especially blah? Top The Best Blush with Lip and Cheek Stick for heightened color.)
We also recommend Gel Bronzer for a fresh-faced, back-from-the-beach appearance. You can apply this all over your face for uniform warmth or just target your cheeks and other areas where the sun naturally hits (like your nose and forehead). You can cut the color a bit by mixing it with your favorite moisturizer for more subtlety.
Important note though: If you want to use Gel Bronzer with more emollient products like Lip and Cheek Stick and Miracle Balm, use the bronzer first.
Speaking of Miracle Balm, it’s our ultra-hydrating, light-reflecting balm that’s easy to build. (This may take a sec to get the hang of—but read our tips first.) Its impact is truly a miracle, hence the name, and it is perfect for those who worry bronzer may leave them looking ruddy.
Miracle Balm gently enhances your glow and color, depending on the hue you choose (there’s a quiz for that too). It’s a breeze to apply, but you don’t need much so resist the temptation to overdo it, no matter how pretty it looks in the pot.
Avoid intricate eye makeup
As for your eyes, don’t do an elaborate eye, like a smokey eye, when you know you’re going to be on a video call.
The beautiful details and gradations you added in won’t register on camera anyway; instead, the various shades you’ve applied might appear as one color that looks dark…and not in a sophisticated way. It will likely drag you down and unintentionally contribute to the appearance of under-eye circles, even if you dutifully just covered those up.
Instead, focus on eyeshadow in simple neutrals for slight dimension and color.
But yes to eyeliner and mascara
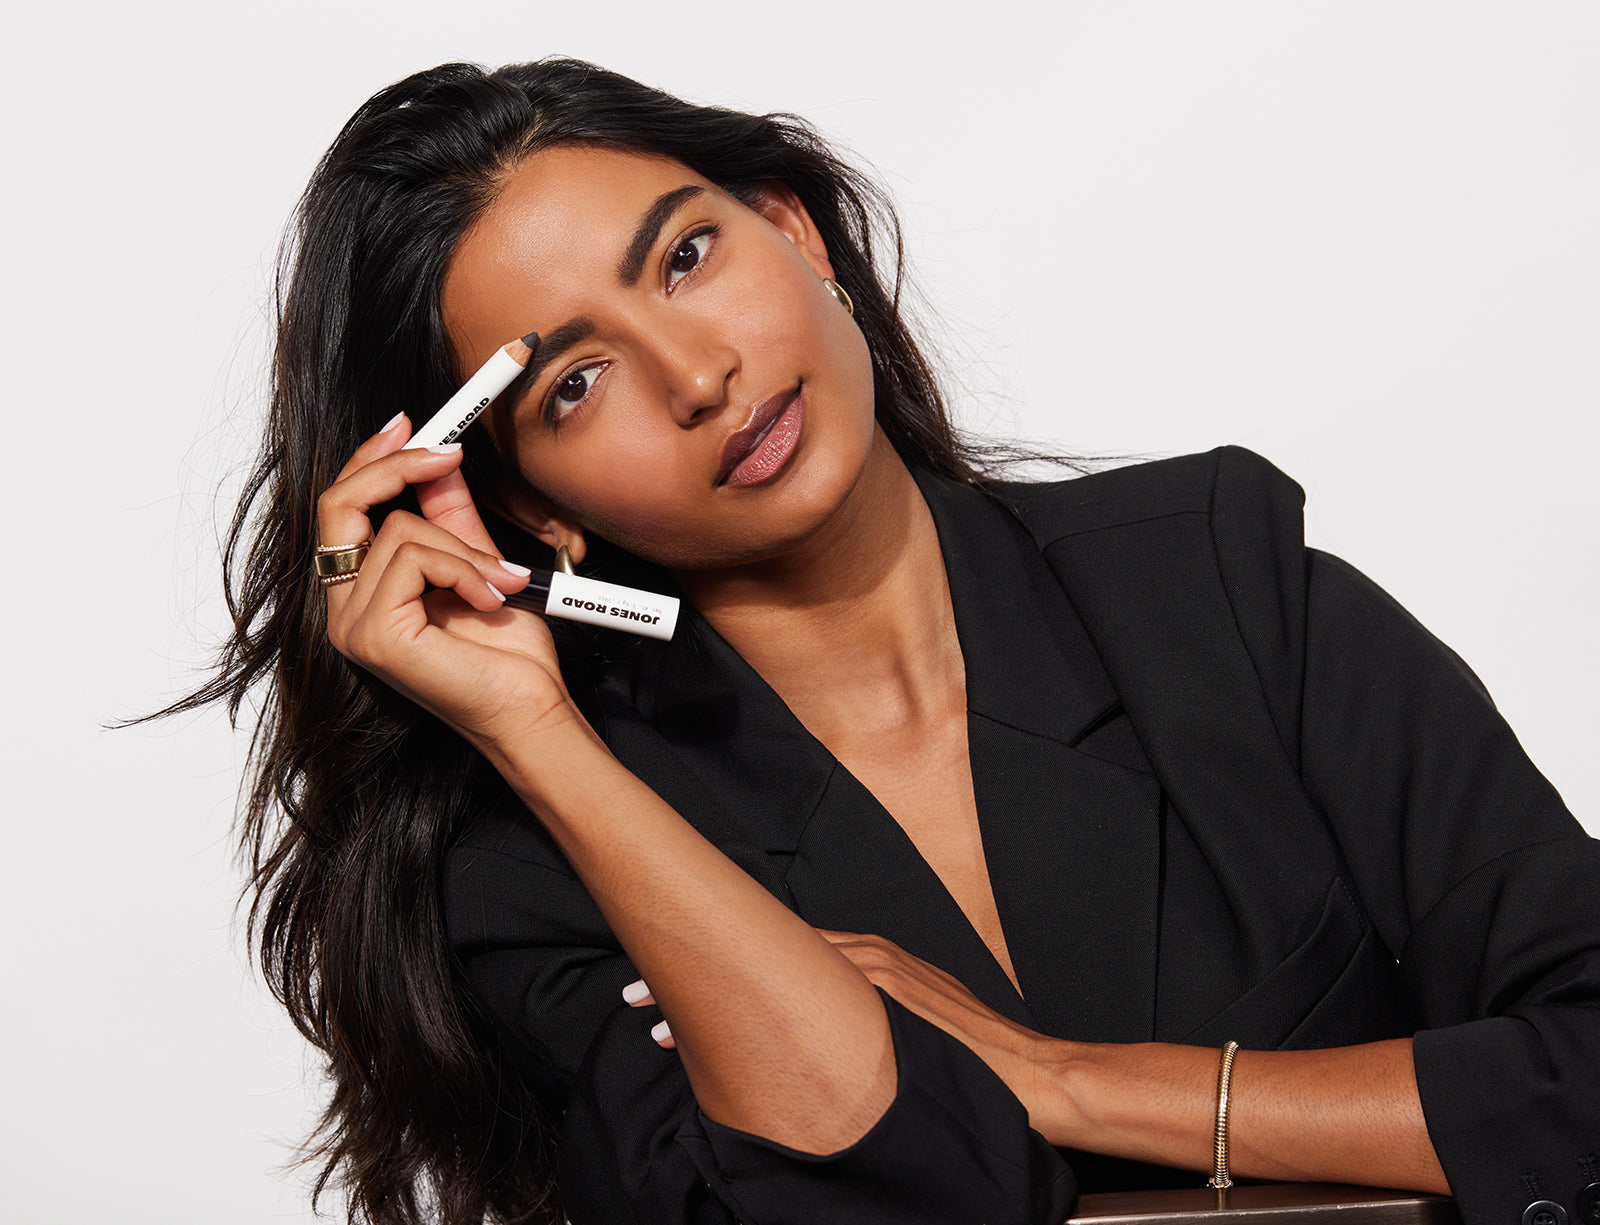
Those not used to eyeliner may balk at this suggestion, but want to look awake and responsive? Enter eyeliner pencil. A light stroke is all you need; beginners and pros alike will take to The Best Pencil for buildable dimension.
Then top it with—of course—mascara. Ours is inky black for the ultimate definition, with zero harsh contrast that those with fair hair and lighter tones may worry about. We recommend swiping on an extra layer for maximum visibility.
The approach to your eyes is similar to how you would prepare for a photo shoot: make sure they look natural but stand out.

Go for a polished brow
A groomed brow draws focus up top for effortless sophistication.
Even if you aren’t concerned with unruly or stray hairs, defining and filling in sparse areas is a foolproof way to look more put-together.
Use The Brow Pencil to extend and define your browline, and in a few, quick strokes, use The Brow Gel to mimic fullness and uniformity in color.
Make your lips pop
If you’re speaking in a meeting, even virtually, then focus by default falls to your mouth. Take the opportunity then to do a lively, colorful lip to intensify your look.
It can be a bold red or pink to really pop. A moisturizing swipe of The Lip Tint is automatic confidence, or for something more subdued, line and fill your lips with The Lip Pencil.
Either way, top with Cool Gloss for extra expressiveness. Matte lips—even in the brightest color, and especially if you’ve blotted them—may appear lifeless on screen without a bit of shine.
Lastly
Even if you’ve logged many days by now on camera, don’t feel bad if you are still grasping at the right products and routines—and for the ideal environment where you should take calls.
Ultimately, perfecting the right makeup for a video conference call is all about striking the right balance. You may need more complexion-correcting products than you are used to, but you don’t need to do a full coverage look. You want to make sure you don’t appear flat or sullen, but don’t add back in too much warmth or glow in case you look shiny.
Don’t let that daunt you. It can take a bit of time to find the right combination of products, and the order in which you want to apply them, to register most fully on-screen. Besides, you aren’t the only one who is still getting distracted by your own image on camera. So don’t fret if this takes some time to confidently excel in what works best for you.
 Miracle Balm
 Just Enough Tinted Moisturizer
 What The Foundation


