Diary / Beauty / Apr 29, 2024
Makeup Lighting: The Ultimate Beauty Guide
Written by: Jones Road Beauty
Photography by: Ben Ritter

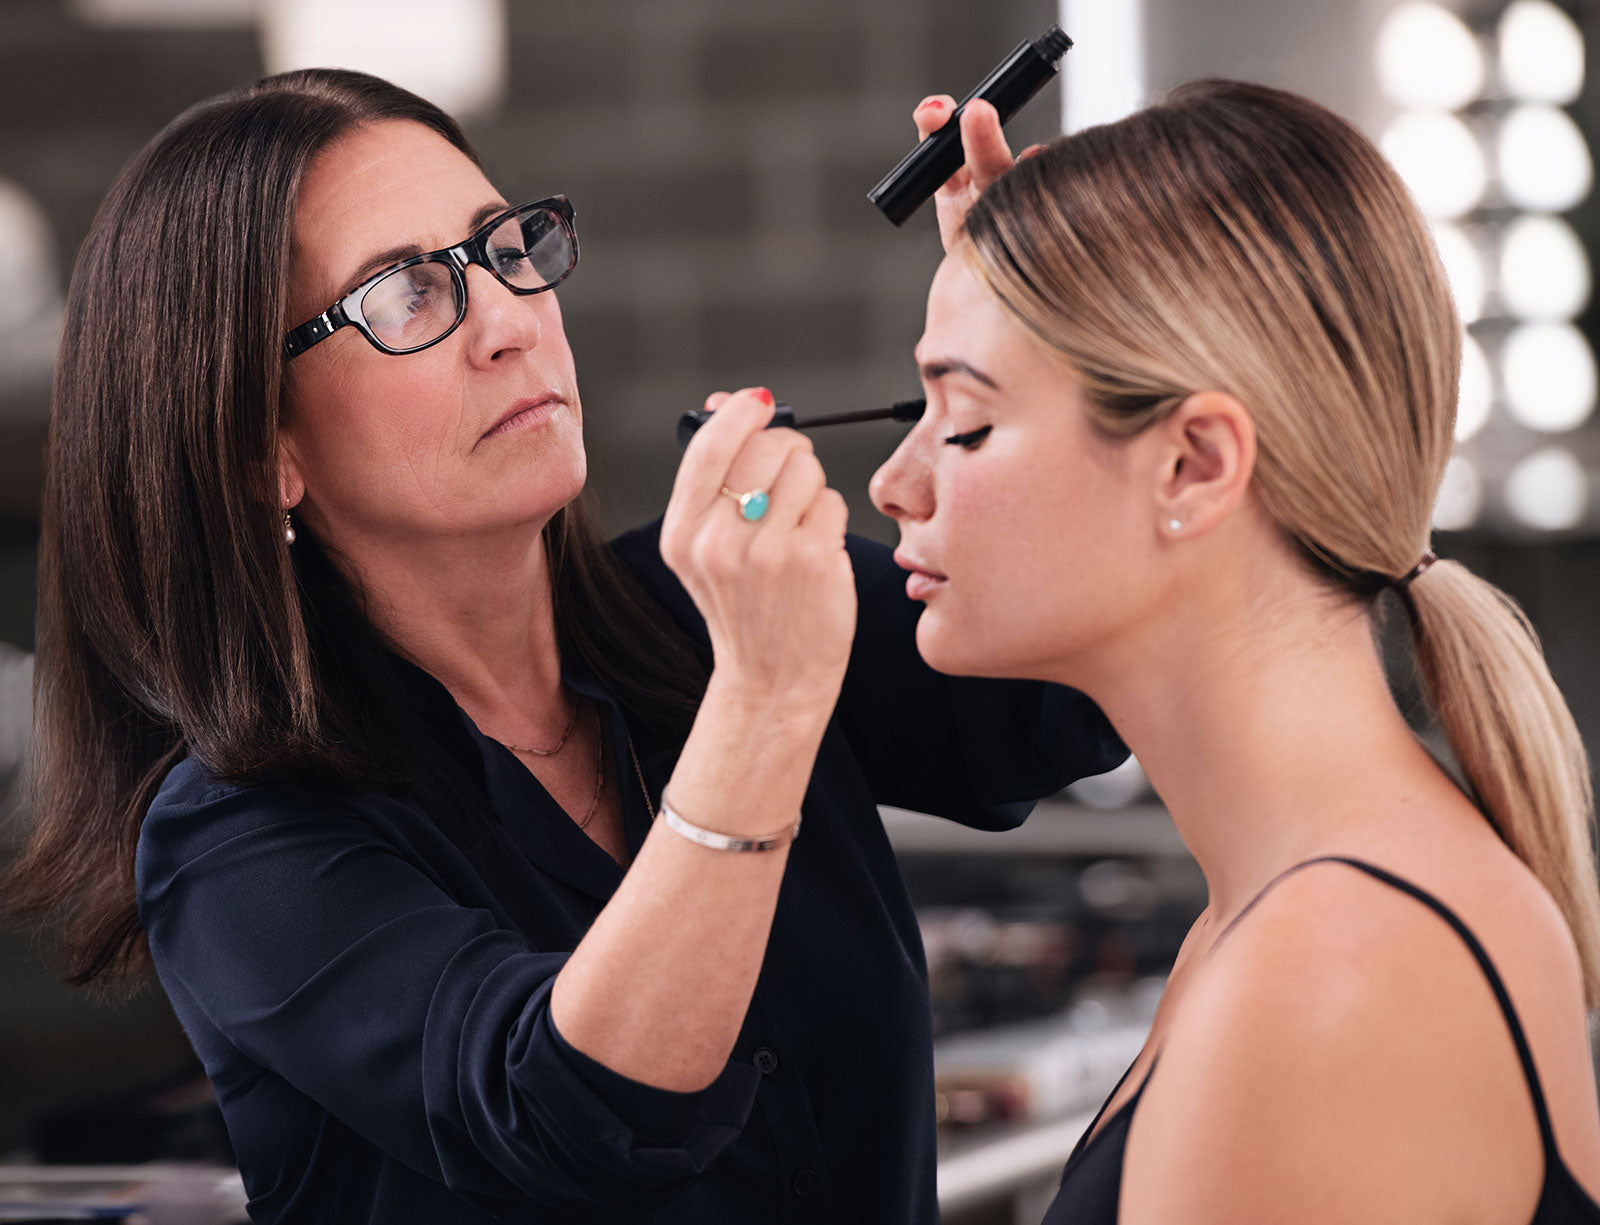
You don’t have to be a makeup professional to know that when it comes to applying a flawless look that lasts—even if it’s a low-maintenance approach with minimal steps—lighting is very important.
It doesn’t matter how consistent you are with your skincare, or how quality your makeup products are if you’re surrounded by insufficient lighting. The most nourished skin will look unhealthy if poor lighting has caused your makeup application to go awry.
If you’ve relied on too-dim lighting from soft table lamps or hoped an overlit ceiling fixture would provide the right quality of illumination, then you know just how crucial the right amount and tone of lighting are when you’re aiming for a natural finish. Good lighting is especially key if you’re doing precise tasks, like tweezing your brows, or preparing for an important event. Who hasn’t stepped outside to see patches of unblended foundation or the remnants of an uneven complexion?
We’ll go over the types of lighting and how to find the best lighting for applying makeup.
What is the best lighting for applying makeup?
The short answer: Natural daylight is the best lighting for applying makeup.
Set yourself up facing a window, with not too much sun streaming through (and make sure the light is evenly diffused); you don’t want to over-illuminate or over-focus on certain angles, and besides, squinting in direct, uncomfortable heat isn’t ideal for anyone.
If you know you’re going to be on a Zoom call or are heading to an event where you’re going to be photographed, then this is not the moment to compromise on lighting. When the lighting is off, it’s completely possible you will over-cover blemishes and under-eye circles, using the wrong hue even, or under-target the areas you want to focus on.
What if there’s no natural light?
Maybe you have a small apartment that’s short on windows, or your windows face another building, or it’s overcast outside. If any of those are the case, then artificial light—light from a source inside the house (or wherever you’re applying makeup—will have to work.
In just a moment, we’ll go over the different types of artificial light but a word to the wise: avoid relying on overhead lighting only. Direct light from above floods the room and will throw too much shadow on your face for you to get the clearest picture of what you need to focus on.

Lightbulbs 101
So you’re avoiding overhead lighting on its own. Good. It’s unlikely you’ll be applying makeup in dim mood lighting (like candlelight) but in case that did seem like a viable option, it’s not.
Ultimately, warm light is best, next to natural light. If you’re spent any time picking out lightbulbs in a hardware store, then you’ve seen descriptors that range from “daylight” to “soft white” and a number that measures Kelvins (K).
Both of these refer to the color temperature, essentially how cool or warm the light looks. The short of it: Warm light is less than 3000K, and cool is more than 5000K. Let’s break it down further.
Daylight
At the coolest end of the spectrum are daylight bulbs. This type of light appears bluish-white and is more prevalent in offices. It can be a bit abrasive in certain circumstances; it may wash you out so if you rely on daylight bulbs to illuminate your makeup routine, you may over-correct with concealer or apply too much bronzer. This is a recipe for streakiness. Daylight bulbs range from 5000K to 6500K.
Bright white
The second most cool is the bright white category—also bluish-white, between 4000K to 5000K. (Also too abrasive for a makeup application that leaves you looking natural.)
Warm white
Warm white bulbs are more yellow and white; look for anywhere between 3000K and 4000K. *This is the sweet spot.*
Soft white
At the warmest end are soft white bulbs that offer more yellow light and are considered the standard incandescent bulbs. Soft white probably describes the lighting that’s in your bedroom, living room, or dining room. It’s cozier, but probably too cozy for you to see exactly what you’re doing. (Basically, don’t apply eyeliner or trim your brows in soft white lighting.) Look for 2700K to 3000K.
Do I need a special lighted mirror for applying makeup?
These can be a great option, even if you have perfectly warm lighting.
Lighted makeup mirrors offer concentrated but not harsh light so you can be confident that you won’t walk outside with clouds of setting powder on your face or half-patched-up under-eye circles.
They can be rechargeable, battery-operated, plug-in, or wall-mounted so consider if you want to move around with the mirror or travel with it.
Note: If you’re opting for a wall-mount one, the most lit-up part of the mirror should be at eye level so you can enjoy evenly distributed light.
Most lighted makeup mirrors rely on LED bulbs now (as opposed to incandescent—which is great, so they aren’t heating up or washing you out with too much light).
You can adjust the light temperature depending on your surroundings or how precise you need to be with your application. For example, while you typically want to avoid cooler light, it may be helpful if you’re, say, painstakingly applying false eyelashes.
The Bottom Line
Skincare, makeup, lighting—check, check, check. It’s not overstating to say that these are the top three components you need to have in place to achieve a flawless makeup look. You can be diligent about a consistent skincare routine that meets the needs of your skin type and be an expert at applying makeup, but if you’re settling for bad lighting, then none of that matters.
Start with learning the basics of lighting—what cool vs. warm lighting means, what Kelvins are—and understand what is already in place in your house so you can situate yourself in the best spot. You’ll be surprised at how helpful this will be.
Natural lighting is paramount but warm sources of artificial light are your next best bet. And don’t forget about makeup mirrors; they’re great for all levels, even if you have pristine lighting.
 Miracle Balm
 The Face Pencil
 What The Foundation


