Diary / Beauty / Jan 23, 2024
How to Cover Acne Blemishes With Makeup
Written by: Piper Gray
Photography by: Ben Ritter & Jon Patterson
Acne doesn’t always go away once you leave high school or college, unfortunately. It’s not a condition relegated to your hormonal, younger years—it can stick around for much longer.
But there are things you can do to minimize the issue so covering up breakouts becomes easier. If you’ve ever dealt with this (who hasn’t?), then you know it’s not always as simple as reaching for your usually dependable concealer and foundation.
We’ll go over tips on how to prevent (or at least minimize) breakouts, what you can do when you are faced with an acne flare-up, and the products you need to cover your blemishes.
First, a note about the sun
You may have heard sun exposure can be good for breakouts because it dries out your skin. Let’s dispel that right off the bat: No. We don’t need to tell you by now that baking in the sun—especially sans sunscreen—is a terrible idea.
If you are dealing with blemishes, it’s even more important that you cover up when you’re in the sun. Sunlight can darken scarring from acne, so take care to rigorously apply sunscreen with an SPF of 30 or higher. This should be an integral part of your daily skincare routine, even if you aren’t planning on spending much time outside.
Prevent
As much as you can, of course. There is only so much we can do about hormonal fluctuations, genetics, and other less evident contributors to recurring breakouts.
Many culprits are out of our hands but we can pay attention to any familiar patterns leading up to a breakout of acne. Sensitive skin types are likely aware of their triggers but everyone can benefit from approaching this with a little more awareness.
For example, stress on its own is enough to throw your skincare routine and your skin off balance; throw in resulting poor sleep and less than nutritious snacking, and it’s little wonder you’re contending with pimples and uncomfortable redness. Stress is a way of life in one season or another, but see what measures you can take to prioritize taking a step back and sleep, which will in turn help you to sleep better and reach for food that will nourish and sustain your energy.
Once you start to take note of what’s likely behind your breakouts, you may find you can make simple modifications to keep really troubling breakouts at bay.
Of course, if you’re constantly dealing with tenacious blemishes on a recurring basis, consult with a dermatologist.
Prep
Clean hands, clean tools, clean face. Before you jump right into covering up your acne spots, it does take a little bit of preparation.
When you apply your daily products, do so with just-cleansed hands. Make sure your makeup brushes and other tools are consistently rinsed, and of course, wash your face every morning and night—even if you haven’t applied any product.
Consistently moisturizing is key, even if oily skin is leading to acne flare-ups. This ensures your skin stays balanced so it doesn’t overcompensate for a lack of moisture by producing more oil.
What the prep stage doesn’t include? Picking or popping. It’s so tempting, we know—we’re not judging—but if you break the skin, now you’re having to deal with essentially an injury on top of a blemish. Picking and popping can also lead to infection by introducing bacteria from your hands into the spots, not to mention swelling and scabbing.
Target
Slathering on your favorite foundation and concealer isn’t necessarily the answer here, or at least not just yet.
Depending on the size and stubbornness of your breakout, you’ll want to focus on three elements, rather than just approaching this as an exercise in quickly covering up.
Swelling:
A cool or a warm compress can soothe uncomfortable swelling and bring the spot(s) down. Avoid extreme temperatures because it could aggravate the issue and add redness on top of the already angry-looking blemishes.
Texture:
If you’ve popped a pimple or it’s an old flare-up, the area around the breakout may be raised and rough. If the area isn’t too tender or fresh, gently—very strong emphasis on gently here—apply a damp washcloth to the area to remove any flakiness. Applying any complexion correctors on top of visible flakes is a recipe for cakiness so you want to remove the top-most layer of dead skin cells.
This is another reason why moisturizing is so important; it’ll minimize and soften the dryness that often accompanies blemishes in recovery, even if you’re been hands off and haven’t picked at them.
Darkness and/or redness:
This might be the trickiest element to cover. It’s easy to go too light or too dark with a concealer, hoping that will cancel out the evident spot.
When the perfect color isn’t on hand or you’ve applied too much, hoping that more will right the wrong, the product may visibly layer and draw attention to the raised spot. We’ll get to the specifics of just how exactly to neutralize darkness and redness in just a moment, but if you’ve applied a compress to help with swelling, then the reactionary color will also improve.
This is another reason to keep your hands off of your acne—you’re only making things worse if you’re trying to bring a spot to the surface. It’ll for sure become redder, and in some cases, darker, almost bluish—like you’re unable to successfully pop it, because the blemish is that deep down. And if you do break the skin and scabbing occurs, it’s always going to be harder to cover up.
In short, the best thing you can do, before reaching for makeup, is keep your hands off your face.
How to Find the Right Colors
Depending on the severity of your breakout, your usual concealer and foundation colors may not do the trick. We’re not saying you need all new products, but it’s a good idea to keep a couple of heavy hitters on hand for those moments when you really have to handle dark, textured spots.
Luckily, we have some very simple quizzes to help you learn which colors will suit your complexion best, even when it’s not at its best.
For your darkest spots and signs of hyperpigmentation leftover from blemishes in recovery, enter The Neutralizer Pencil. (It’s great for undereye circles, too.) Start here by answering a few questions to find your perfect color-correcting hues.
And then from there, find your optimal color(s) of The Face Pencil. Both pencils are formulated with castor seed oil, which soothes and hydrates, ensuring these glide on, and not drag across, your skin.
Here’s a quiz for What The Foundation (which may be actually all you need) and lastly, Tinted Face Powder (which you may not need).
How to Cover Acne Blemishes
You may not want a full-coverage look, especially if that’s not a regular thing for you, and again, your breakout may not need as much coverage as you think.
At Jones Road Beauty, we are pro applying foundation before concealer (your Neutralizer Pencil and/or Face Pencil) because that may be enough to sufficiently cover up your breakout. Sometimes, applying concealer beforehand ends up just being a waste of product because foundation would have just done the job.
But you know your skin and what you need—and if you don’t, you’ll start to learn quickly. If your breakout is really stubborn and uncomfortable, then your primary focus may be on concealing first and then blending in foundation after.
This may take some experimentation but just remember, go slow and resist the temptation to use way more foundation or concealer than usual. Too much of any product isn’t a great approach on even your best skin days; it’ll certainly work against you when you’re trying to cover up acne.
Foundation Only
Once you’ve applied What The Foundation—either all over or merely to areas that could use some evening out—take a step back and see how your blemishes look now. That may be all you need—great.
If you’d like some extra protection, top with Tinted Face Powder to set and mattify. If you’re leery of adding color but still want to seal, the powder also comes in Untinted.
Foundation Then Concealer
For those who are in search of more coverage, The Neutralizer Pencil is your best bet for combatting darkness.
It’s the same formula as that of The Face Pencil, just with different colors meant for counteracting more dramatic evidence of hyperpigmentation and darkness, like undereye circles and scarring from severe breakouts.
Given its canceling-out tones, The Neutralizer Pencil won’t look natural if you use just that; it will need to be paired with The Face Pencil to add back in the skin color element.
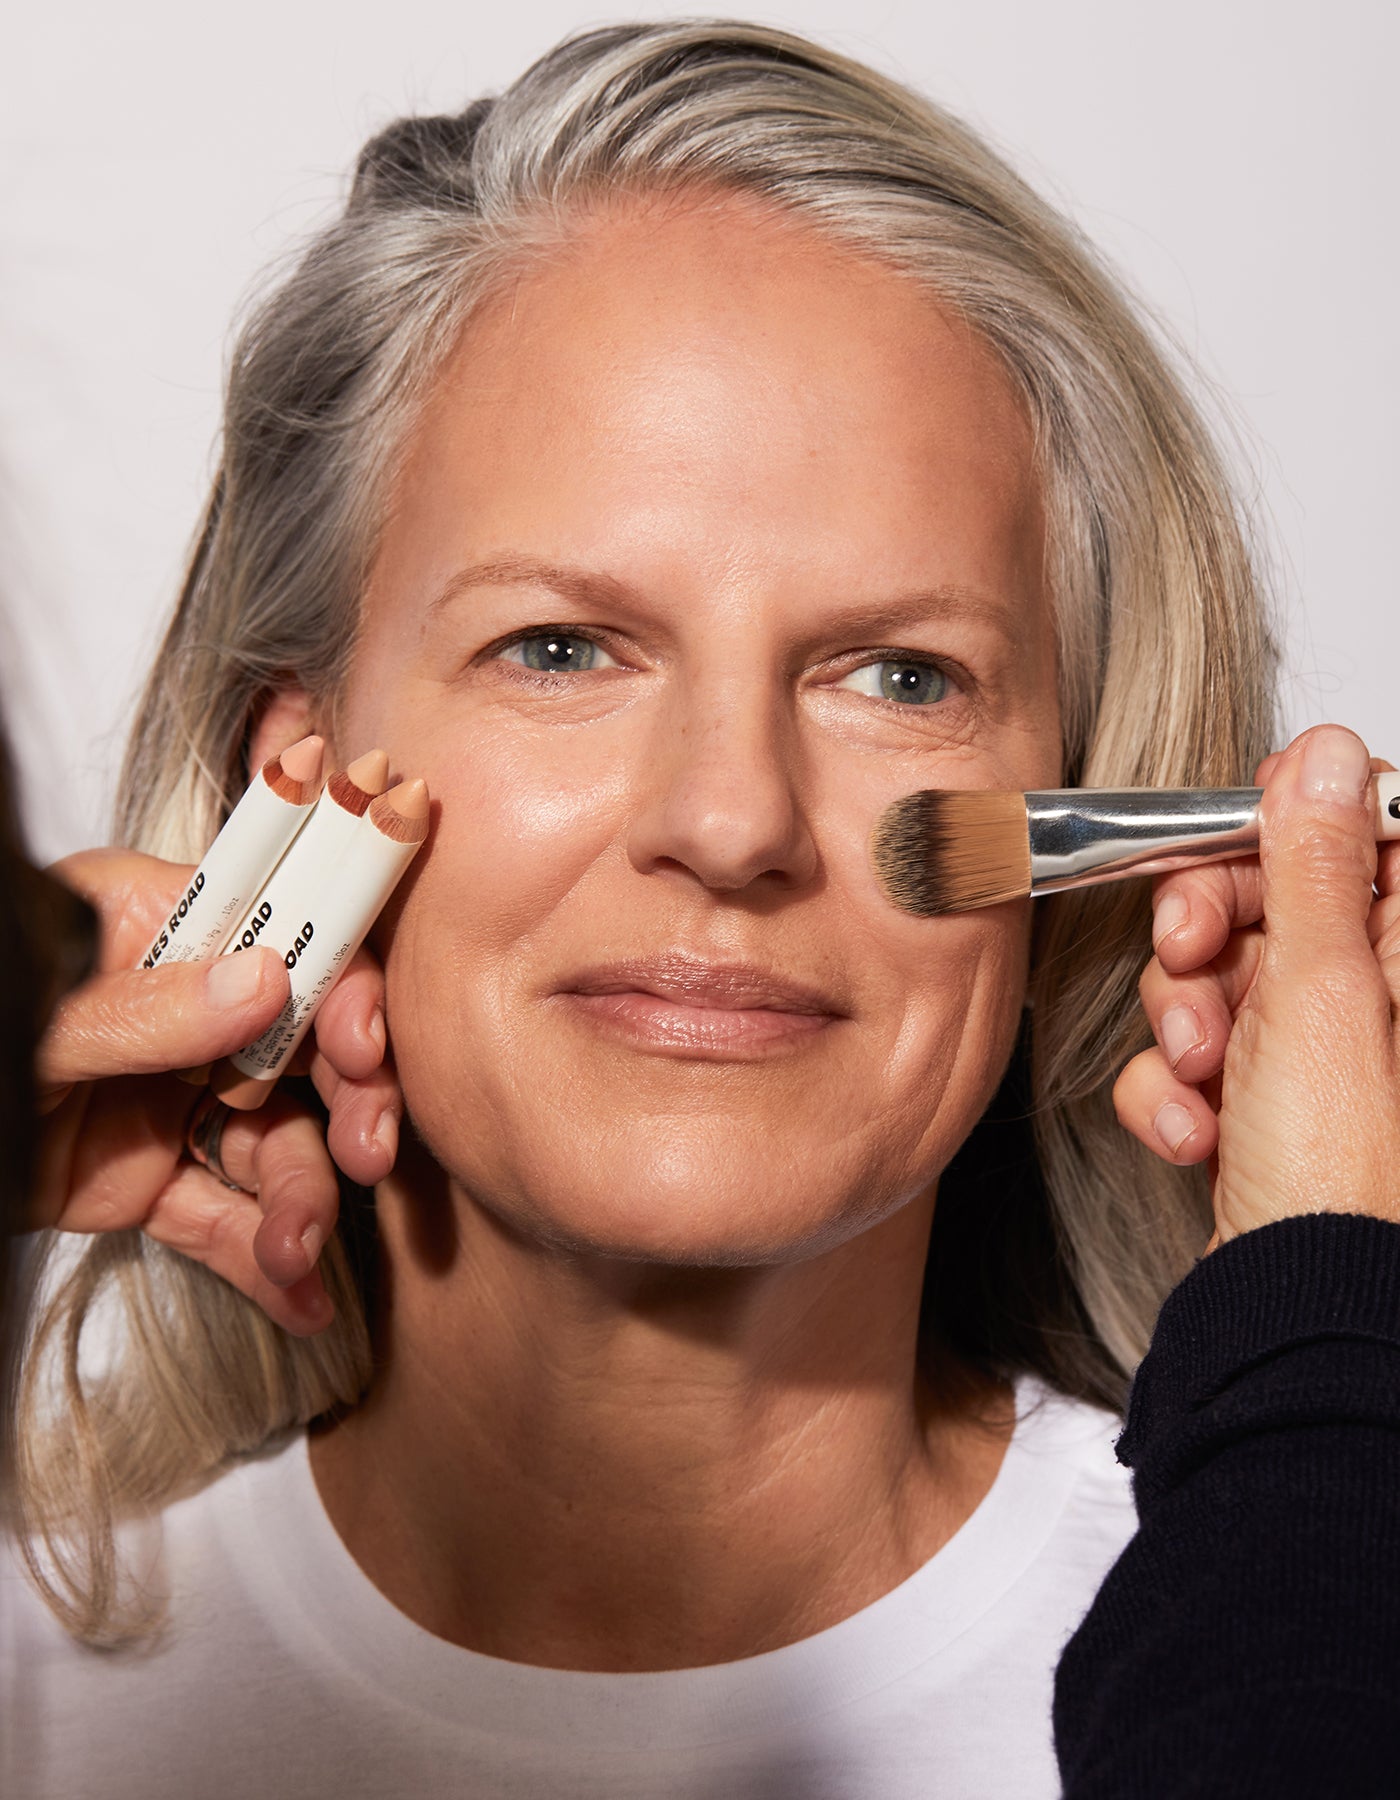
If you have used The Face Pencil in the past then you know how to apply The Neutralizer Pencil—simply hold it like a pencil and take care not to tug or drag. You can even apply it by tapping a bit onto a clean finger and then patting it evenly onto the spot you’re covering. Once you’ve sufficiently concealed the dark areas, layer The Face Pencil directly on top for a seamless, natural skin tone.
If your breakouts are run-of-the-mill red, then you can just opt for The Face Pencil and skip The Neutralizer Pencil.
Lastly, add Tinted Face Powder to take down shine or lock in your coverage.
Concealer First
If your blemishes are slight, then a bit of The Face Pencil may do the trick—no foundation or powder necessary.
If they are really red and raised, then you may want to play around with applying your concealer first to set a stronger base. From there, gently apply foundation on the areas you’ve covered and blend accordingly.
Lastly? Relax.
No one’s skin is perfect, and you don’t want to look filtered or poreless. You want to look like you, with skin that’s as healthy as possible. So when you have a flare-up, go easy on yourself.
Embrace what you have and accept that we all have hiccups or disruptions from time to time. Keep taking care of yourself (here are a few other guidelines for quickly attaining an improved complexion) regularly and you’ll likely notice you’ve curtailed some flare-ups or at least the severity of them.
Now that you’ve learned our tips and tricks, you’re equipped to handle your next breakout with ease.